135+ Woodworking Sawhorse Plans Pdf Free Download

 tumbledrose.com ```html
 Introduction: The Essential Sawhorse Every workshop needs a reliable set of sawhorses. They provide a stable platform for cutting, assembling, and finishing projects. Building your own not only saves money but also allows you to customize them to your specific needs and preferences. This guide will walk you through a simple and sturdy design.
Materials and Tools: Gather Your Supplies Before you begin, make sure you have all the necessary materials and tools. This will streamline the construction process and prevent frustrating interruptions. Lumber: You'll need 2x4 lumber. The length will depend on how tall and wide you want your sawhorses to be. A common size is 30 inches tall and 36 inches wide. Screws: 2 1/2 inch wood screws are ideal for this project. Saw: A circular saw or hand saw will be needed to cut the lumber. Drill: A drill with a screwdriver bit is essential for driving the screws. Measuring Tape: Accurate measurements are crucial for a stable sawhorse. Pencil: For marking cut lines. Safety Glasses: Protect your eyes from flying debris. Optional: Wood glue for added strength.
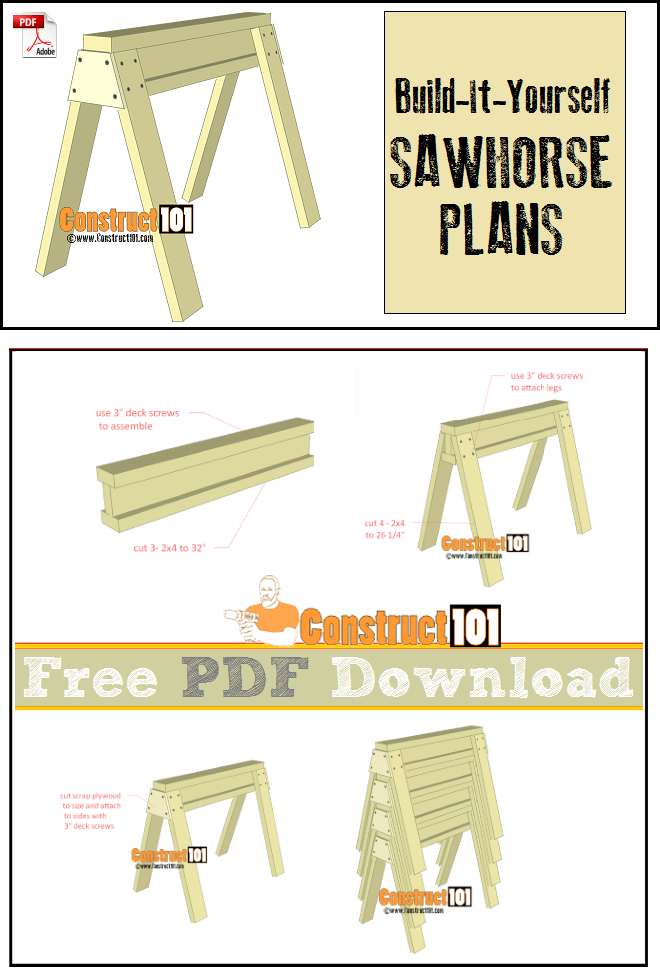
Step 1: Cutting the Lumber The first step is to cut the lumber to the required lengths. Carefully measure and mark each piece before cutting. Legs: Cut four pieces of 2x4 lumber to the desired height of your sawhorses. Typically, this is around 30 inches. Top Supports: Cut two pieces of 2x4 lumber to the desired width of your sawhorses. A common length is 36 inches. Braces: Cut four pieces of 2x4 lumber at a 45-degree angle. These braces will provide stability to the legs. The length will depend on the angle and leg placement, typically around 12-15 inches along the long edge. Accuracy is key here, use a speed square for the 45-degree angle.
Step 2: Assembling the Legs and Top Supports Now it's time to assemble the main structure of the sawhorses. Attach Legs to Top Support: Position the legs at the corners of the top support. Use wood screws to securely attach the legs to the inside of the top support. Pre-drilling pilot holes can prevent the wood from splitting. Apply wood glue to the joints before screwing for extra strength. Repeat for the Second Top Support: Repeat the process for the second top support, creating a basic "H" shape on each side.
Step 3: Adding the Braces The braces are crucial for adding stability and preventing the legs from wobbling. Attach Braces: Position the angled braces between the legs and the top support, creating a triangular support. The angle of the brace should align with the leg and top support. Secure Braces: Use wood screws to securely attach the braces to both the legs and the top support. Again, pre-drilling pilot holes is recommended. Wood glue can also be used here. Repeat for all Legs: Repeat this process for all four legs, ensuring the braces are positioned consistently.
Step 4: Finishing Touches Once the sawhorses are assembled, you can add some finishing touches. Sanding: Sand down any rough edges or splinters to prevent injury. Optional Painting/Sealing: Painting or sealing the sawhorses can help protect them from moisture and wear. Testing: Test the sawhorses for stability by placing weight on them. Adjust or reinforce any weak points as needed.
Conclusion: Your Sturdy Sawhorses Congratulations! You've successfully built your own sturdy sawhorses. These will provide a reliable and stable platform for all your future woodworking projects. Remember to always use caution and follow safety guidelines when working with power tools. Enjoy your new sawhorses!
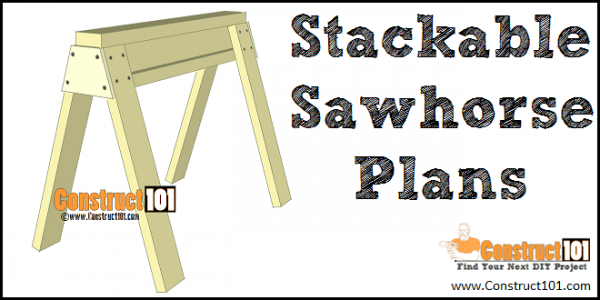
``` Sawhorse Plans
 www.construct101.com
 Sawhorse Plans
 www.construct101.com
 Sawhorse Plans Pdf
tumbledrose.com

135+ Woodworking Sawhorse Plans Pdf Free Download
![135+ Woodworking Sawhorse Plans Pdf Free Download]() Reviewed by sabakatar
on
September 21, 2025
Rating:
Reviewed by sabakatar
on
September 21, 2025
Rating:

No comments: