47+ Workbench 4 In 1

 shopee.sg ```html
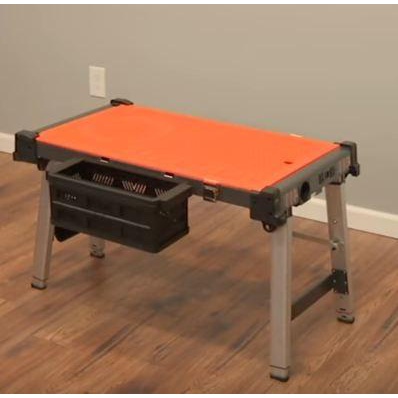
 Introduction: The Versatile 4-in-1 Workbench This project guides you through building a multi-functional workbench that can serve as a standard workbench, a miter saw station, a router table, and a clamping station. This design is perfect for maximizing space and functionality in a small workshop or garage. Let's get started!
Materials & Tools Required Before beginning, gather all the necessary materials and tools. This will streamline the building process and prevent interruptions.
- Lumber: (Specify dimensions and quantities based on your desired workbench size. Consider using plywood for the top and 2x4s for the frame. Common lumber options include: 4x4s, 2x4s, plywood sheets.)
- Screws: (Assorted sizes of wood screws are essential. Use exterior-grade screws for increased durability.)
- Wood Glue: (High-quality wood glue will strengthen joints.)
- Measuring Tape
- Circular Saw
- Miter Saw (Optional but highly recommended for accurate cuts)
- Drill/Driver
- Router (For router table functionality)
- Router Plate (For router table functionality)
- Clamps: (Various sizes for holding pieces together during glue-up and assembly)
- Safety Glasses
- Ear Protection
- Pencil
- Square
- Level
- Miter Saw Mounting Hardware: (Bolts, washers, nuts compatible with your miter saw)
- Clamping Accessories: (Dog holes and clamps for clamping station)
- Finish: (Paint, stain, or sealant to protect the workbench)
Step 1: Building the Workbench Frame The frame provides the structural support for the entire workbench. Accuracy in this step is crucial for a stable and functional workbench. Cut the 2x4 lumber to the desired length for the legs, aprons, and stretchers. Typically, a workbench height of 34-36 inches is comfortable for most users. Adjust accordingly. Assemble the frame using wood glue and screws. Ensure the frame is square by checking the diagonals with a measuring tape. The diagonals should be equal. Add stretchers between the legs for added stability. These can be placed at the bottom or slightly higher up, depending on your storage needs.
Step 2: Constructing the Workbench Top The workbench top provides a flat and durable surface for working on projects. Cut the plywood to the desired dimensions for the workbench top. Consider using two layers of plywood for a thicker and more robust top. Glue and screw the plywood layers together. Use clamps to ensure even pressure and a strong bond. Attach the workbench top to the frame using screws. Ensure the top is securely fastened to the frame.
Step 3: Integrating the Miter Saw Station This step involves creating a recessed area in the workbench top to accommodate your miter saw. Measure the dimensions of your miter saw base. Cut an opening in the workbench top that is slightly larger than the miter saw base. This allows for easy installation and removal. Build a support structure under the opening to hold the miter saw at the correct height. The miter saw table should be flush with the workbench surface. Secure the miter saw to the support structure using bolts, washers, and nuts.
Step 4: Adding the Router Table Functionality This involves installing a router plate in the workbench top and creating a fence system. Cut a hole in the workbench top to accommodate the router plate. The router plate should be flush with the workbench surface. Install the router into the router plate according to the manufacturer's instructions. Build a fence system for the router table. This can be a simple straight fence or a more complex adjustable fence.
Step 5: Creating the Clamping Station This involves adding dog holes and clamps to the workbench top. Drill dog holes into the workbench top at regular intervals. The size of the dog holes should match the size of your clamps. Purchase or build bench dogs to use with the dog holes. Add clamps to the workbench for holding workpieces in place.
Step 6: Finishing and Final Touches This involves sanding the workbench and applying a finish to protect the wood. Sand the entire workbench to smooth out any rough edges or surfaces. Apply a finish to the workbench to protect it from moisture and wear. Choose a finish that is appropriate for your needs, such as paint, stain, or sealant. Add any additional features or accessories that you desire, such as drawers, shelves, or a tool holder.
Conclusion: Enjoy Your Multifunctional Workbench Congratulations! You have successfully built a versatile 4-in-1 workbench. This workbench will provide you with a functional and organized workspace for all your projects. Remember to always prioritize safety when working with power tools. Enjoy your new workbench!
``` Durabench Work Bench Workbench Table 4 In 1 Various Work Table
shopee.sg Portable 4-in-1 Workbench: Ultimate Multi-tool
 shoppinghubus.com
 Vika 4 In 1 Portable Detailing Platform & Workbench By Griot's Garage
 choicegear.org

47+ Workbench 4 In 1
![47+ Workbench 4 In 1]() Reviewed by sabakatar
on
September 11, 2025
Rating:
Reviewed by sabakatar
on
September 11, 2025
Rating:

No comments: